
CM5 MINIMA R3
CM5 MINIMA R3 is my attempt to make a Raspberry Pi Compute Module 5 carrier board as compact and practical as possible without losing the features that matter in real projects. The result is a board that stays exactly in the spirit of its name: minimal in footprint, but not in ambition.
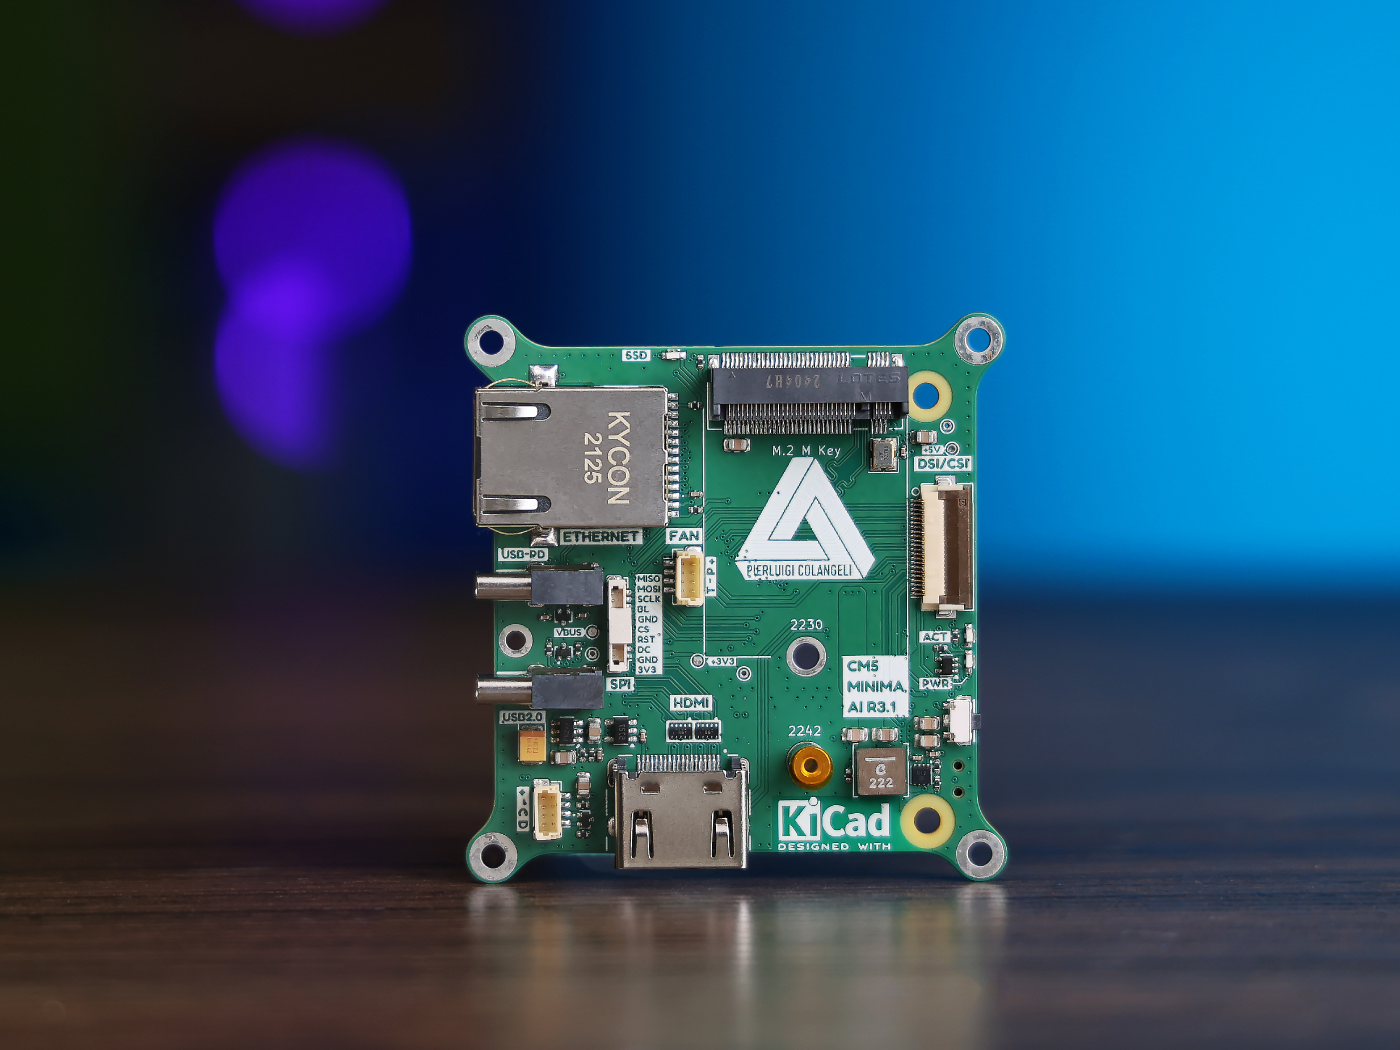
Built around the Raspberry Pi Compute Module 5, CM5 MINIMA R3 keeps the board size down to 61 × 61 mm, matching the footprint of the module itself. Despite that small form factor, it still provides the essentials for serious embedded work: USB-C Power Delivery, Gigabit Ethernet, HDMI, CSI/DSI, and an M.2 M-key slot for 2242 SSDs or Hailo AI accelerators.
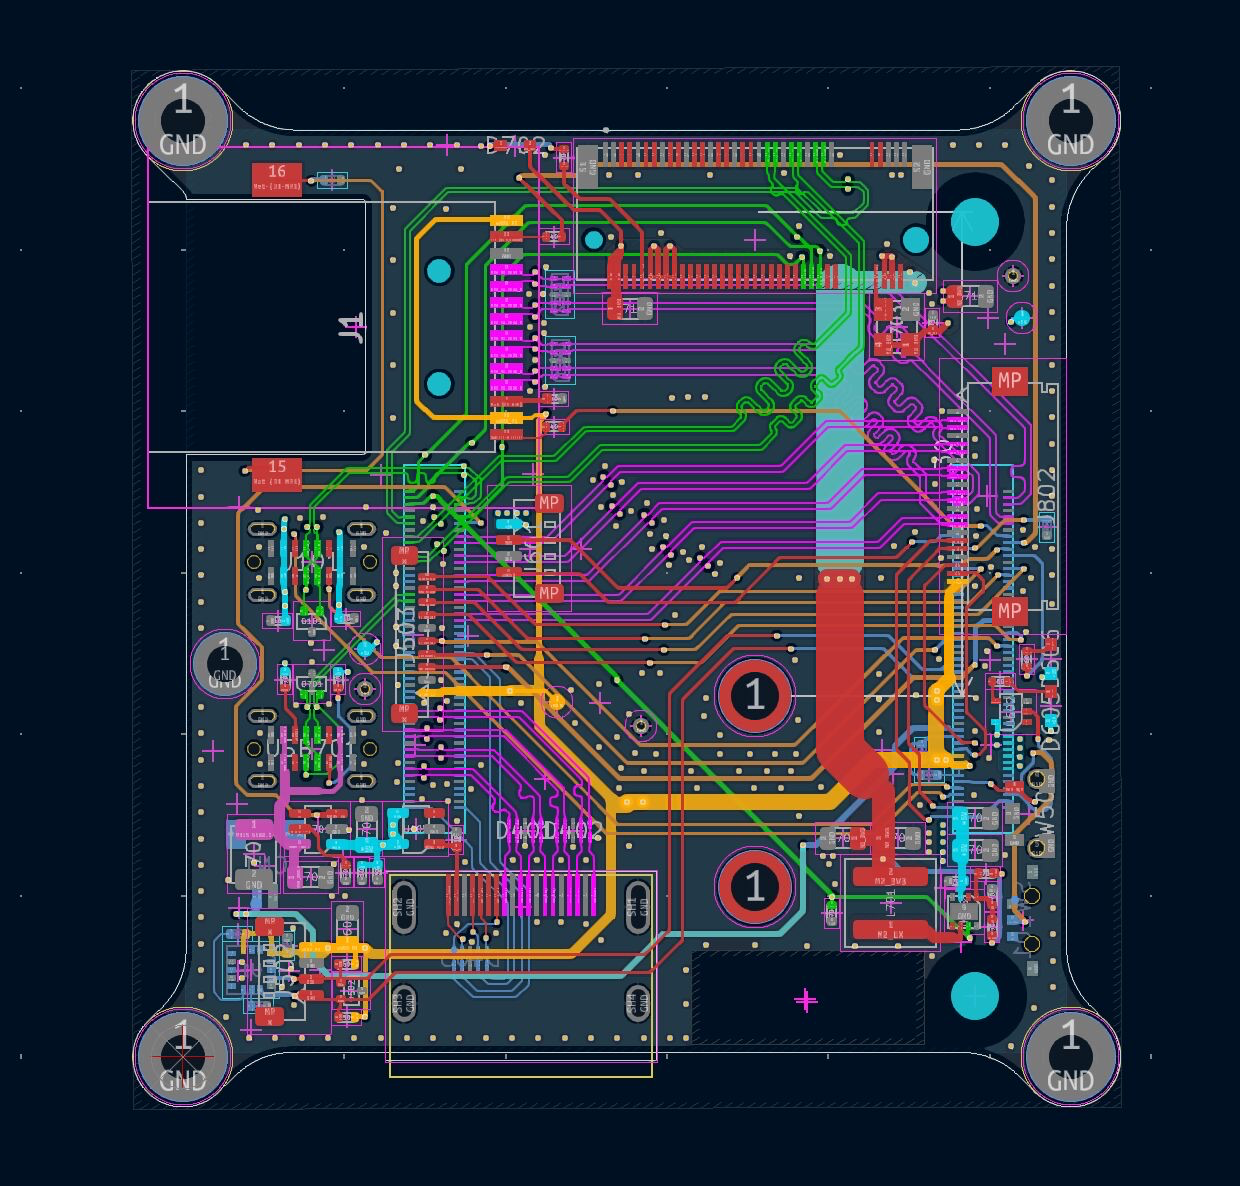
Interactive board viewer
Explore the CM5 MINIMA PCB directly in the browser.
Why I designed it
CM5 MINIMA started as a personal design exercise and quickly turned into something bigger. I wanted to push myself on high-speed board design while creating a carrier board that felt truly usable: compact enough for tight integrations, but still flexible enough for prototyping, embedded products, edge AI experiments, and custom systems.
That design philosophy shaped the whole board. The goal was not to add every possible connector, but to choose the right ones and arrange them in a way that makes the platform practical in the real world. Seeed’s own introduction to the project describes it as a compact, open-source platform aimed at applications such as edge AI, IoT, robotics, and embedded vision, which is very much aligned with the intent behind the design.
Small board, serious capability
What I like most about CM5 MINIMA is the balance it strikes. It is small enough to disappear into a product, yet capable enough to be the computational heart of demanding systems.
A few features I consider especially important:
- 61 × 61 mm footprint, designed to stay genuinely compact
- USB-C PD for straightforward power input
- Gigabit Ethernet with a low-profile cutout magjack approach
- HDMI for display output
- CSI/DSI support for camera and display integration
- M.2 M-key 2242 support for storage or Hailo acceleration
- LIS3DH accelerometer added in R3 for automatic camera orientation in vision-based applications
- improved I2C behavior in R3 based on practical feedback from earlier revisions
Open-source hardware, built in public
Another important aspect of CM5 MINIMA is that it was not developed behind closed doors. It grew as an open project, shaped by iteration, practical constraints, and community feedback.
That matters because compact hardware is often a tradeoff exercise: mechanical limits, routing density, connector placement, manufacturability, thermals, and user expectations all compete with each other. The open-source nature of the project helped keep those tradeoffs visible, discussable, and improvable over time. Seeed’s launch article frames the board as a community-supported open-source design that evolved from a personal project into a more mature, manufacturable product, which is a fair summary of the path it took.
From open project to product with Seeed Studio Co-create
One of the most meaningful parts of this journey has been seeing CM5 MINIMA become part of the Seeed Studio Co-create program.
According to Seeed, bringing CM5 MINIMA R3 from prototype to production involved support across manufacturing, supply chain, testing, branding, and launch. For me, that is what makes the co-create aspect interesting: it is not just distribution. It is the bridge between an independent hardware idea and a product that can actually reach more people with better production quality and better operational support.
That collaboration turned CM5 MINIMA into something larger than a board release. It became a case study for how open-source hardware can evolve when design independence meets manufacturing experience.
A platform for experimentation and products
CM5 MINIMA is relevant to makers because it is approachable and compact. It is relevant to professionals because the same properties also make it attractive for integration into real devices.
I see it as a platform that sits in an interesting middle ground:
- compact enough for product-oriented designs
- open enough for experimentation
- powerful enough for modern embedded workloads
- practical enough to be used beyond a demo bench
That combination is what made the project worth pursuing in the first place.
Explore the design
You can explore the project in more detail through the interactive KiCad viewer below, where both the schematic hierarchy and PCB are embedded directly on this page.